여기에서는 텍스처 관련 실습을 진행해보려 한다.
1. 기본 텍스처 입출력 구조
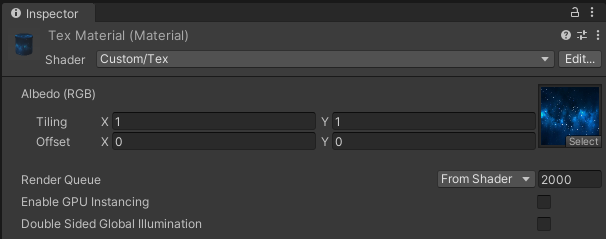
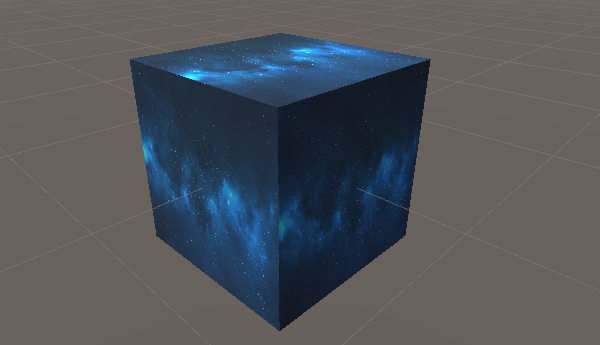
텍스처를 입력받아서 출력하는 기본 구조이다
배운 점
    Properties
    {
        _MainTex ("Albedo (RGB)", 2D) = "white" {}
}- 위 코드에서 "white"는 아무 텍스처도 지정되지 않은 경우 흰색 텍스처를 기본으로 한다는 의미이며 gray, black 등도 지정 가능
sampler2D _MainTex;- 텍스쳐는 UV를 만나기 전까지 그냥 메모리에 올라와있는 텍스쳐일 뿐이라 float4가 될 수 없고 sampler2D인 것
    struct Input
    {
       float2 uv_MainTex;
};- UV는 vertex가 가지고 있고, 이는 엔진으로부터 받아올 수 있기 때문에 Input 구조체 안에 선언해야 함
- Input 구조체 안에는 임의로 만든 변수를 작성할 수 없음
- uv_MainTex는 _MainTex의 uv라는 뜻이고, uv는 u, v 2개의 숫자로 이루어져서 flaot2임
(규칙이라서 항상 이렇게 써야 함)
fixed4 c = tex2D (_MainTex, IN.uv_MainTex);- tex2D 함수는 첫번째 매개변수로 샘플러를, 두번째 매개변수로 UV를 주면 됨
- IN은 input 구조체
코드 전체
Shader "Custom/Tex"
{
    Properties
    {
        _MainTex ("Albedo (RGB)", 2D) = "white" {}
    }
    SubShader
    {
        Tags { "RenderType"="Opaque" }


        CGPROGRAM
        #pragma surface surf Standard fullforwardshadows

        sampler2D _MainTex;

        struct Input
        {
            float2 uv_MainTex;
        };

        void surf (Input IN, inout SurfaceOutputStandard o)
        {
            fixed4 c = tex2D (_MainTex, IN.uv_MainTex);
            o.Albedo = c.rgb;
            o.Alpha = c.a;
        }
        ENDCG
    }
    FallBack "Diffuse"
}
2. 이미지를 흑백으로 만들기
surf 함수 부분만 바꾸면 된다
배운 점
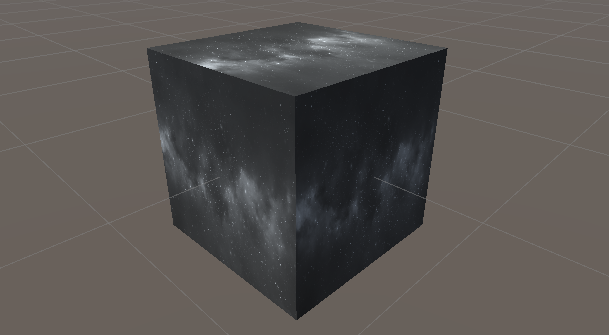
흑백 이미지의 특징은 R, G ,B가 모두 같은 숫자이며, 그 값은 R, G, B 각 요소에 대한 강도의 평균이다
    void surf (Input IN, inout SurfaceOutputStandard o)
    {
        fixed4 c = tex2D (_MainTex, IN.uv_MainTex);
        o.Albedo = (c.r + c.g + c.b) / 3;
        o.Alpha = c.a;
    }
3. 두 개의 이미지를 Lerp 통해 섞어보기
텍스처를 두 개 입력받도록 하고, 수치를 입력받도록 해서 lerp 함수에 적용시켜준다
배운 점
- lerp 함수의 마지막 인자가 어떤 텍스처에 더 가깝게 표시될 것인지에 대한 수치이다
- 0이라면 첫번째 텍스처, 1이라면 두번째 텍스처가 되고 0.5가 딱 반반 섞는 의미가 된다
아래 코드에서 핵심은 surt함수 내에 작성된 o.Albedo = lerp(tex1.rgb, tex2.rgb, _lerpValue); 일 것이다
Shader "Custom/Lerp"
{
    Properties
    {
        _MainTex ("Albedo (RGB)", 2D) = "white" {}
        _MainTex2 ("Albedo (RGB)", 2D) = "white" {}
        _lerpValue ("Lerp Value", Range(0,1)) = 0
    }
    SubShader
    {
        Tags { "RenderType"="Opaque" }
        LOD 200

        CGPROGRAM
        #pragma surface surf Standard fullforwardshadows

        sampler2D _MainTex;
        sampler2D _MainTex2;

        struct Input
        {
            float2 uv_MainTex;
            float2 uv_MainTex2;
        };

        float _lerpValue;
        void surf (Input IN, inout SurfaceOutputStandard o)
        {
            fixed4 tex1 = tex2D (_MainTex, IN.uv_MainTex);
            fixed4 tex2 = tex2D (_MainTex2, IN.uv_MainTex2);
            o.Albedo = lerp(tex1.rgb, tex2.rgb, _lerpValue);
            o.Alpha = 1;
        }
        ENDCG
    }
    FallBack "Diffuse"
}


4. Lerp()의 세 번째 인자로 첫번째 텍스처의 알파채널 값 사용해보기
책에서 Unity StandardAsset의 풀 이미지에 알파채널이 있다고 해서 가져와봤다

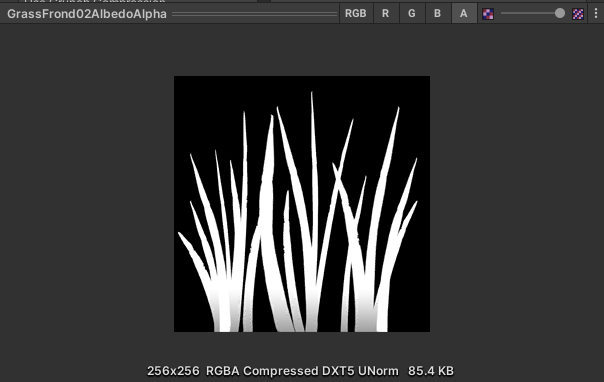
o.Albedo = lerp(tex1.rgb, tex2.rgb, tex1.a);위와 같이 lerp()에서 세번째 인자로 풀 이미지의 알파값을 사용할 것이다
결과를 예측해보면..!
흰색 부분이 1일텐데 lerp()에서 1은 두 번째 매개변수로 들어온 텍스처를 가리키므로
흰색 부분인 풀 모양으로 두 번째 텍스처가 나타날 것이다
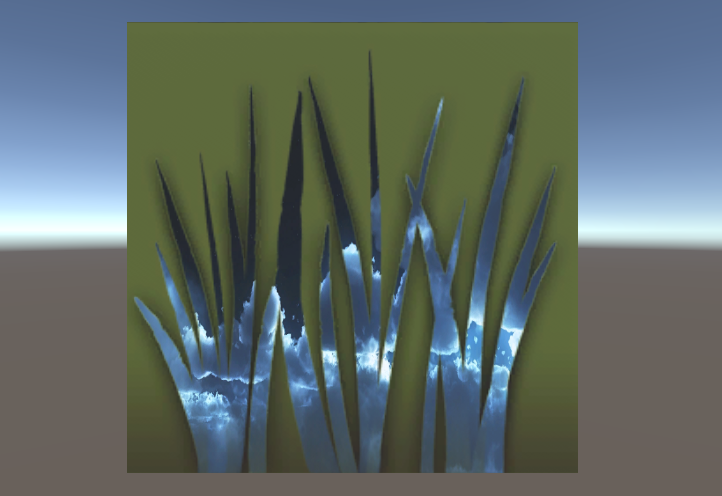
그리고 실제로 적용해보니 위와 같이 표현되는 것을 확인할 수 있었다
o.Albedo = lerp(tex2.rgb, tex1.rgb, tex1.a);위와 같이 첫번째와 두번째 인자의 순서를 바꾸면,
풀 모양에는 풀 텍스처가, 나머지 배경에 밤하늘 배경이 나타날 것이다
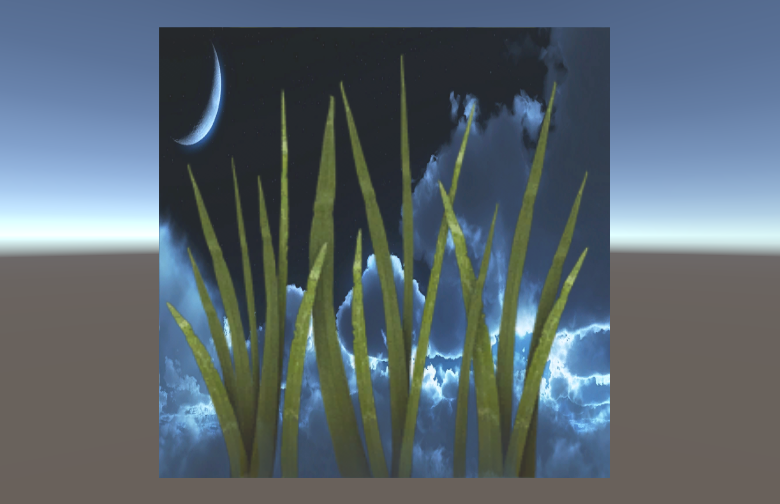
오 뭔가 특이한 느낌이다
참고
- 테크니컬 아티스트를 위한 유니티 쉐이더 스타트업 (정종필 저)
