언리얼 게임잼을 준비하면서 인생 언리얼 교과서의 Chapter 03 실습 중이다.
주인공이 역할을 할 수 있는 기본 설정 진행
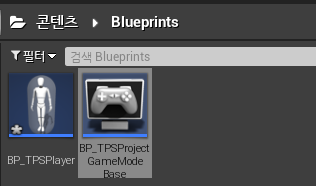
게임의 전반적인 규칙을 이 게임모드에서 담당
레벨마다 게임 모드가 존재하는데 가장 기본이 되는 게임 모드 클래스는 GameModeBase
블루프린트로 승격
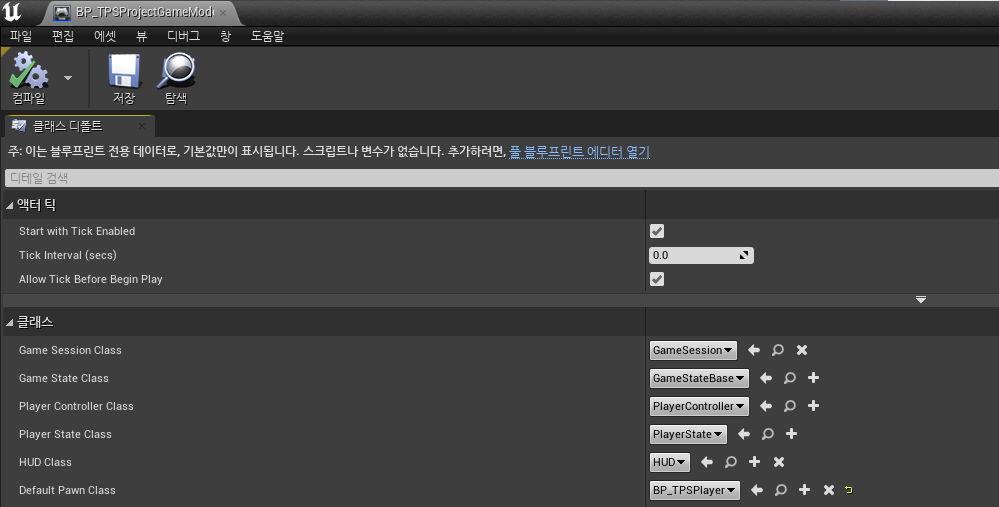
- Default Pawn Class를 아까 만들었던 TPSPlayer C++클래스를 blueprint로 해준 걸로 설정
- TPSPlayer의 부모 클래스는 Character
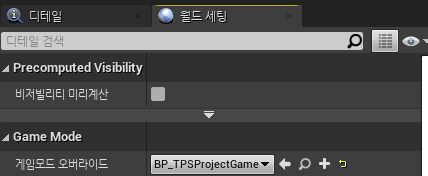
월드 세팅에서 게임모드 오버라이드 설정
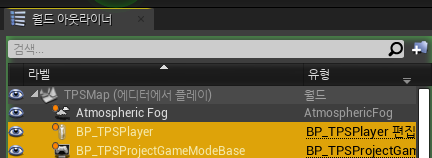
플레이를 누르면 월드아웃라이너에 만들어줬던 BP_TPSPlayer와 게임모드의 BP가 뜸
컴포넌트
- Mesh - 애니메이션을 표현할 수 있는 기본 스켈레탈메시 컴포넌트
- Character Movement - Character에게 가장 중요한 컴포넌트
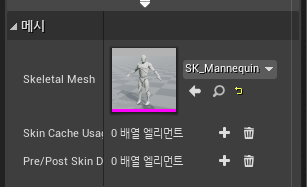
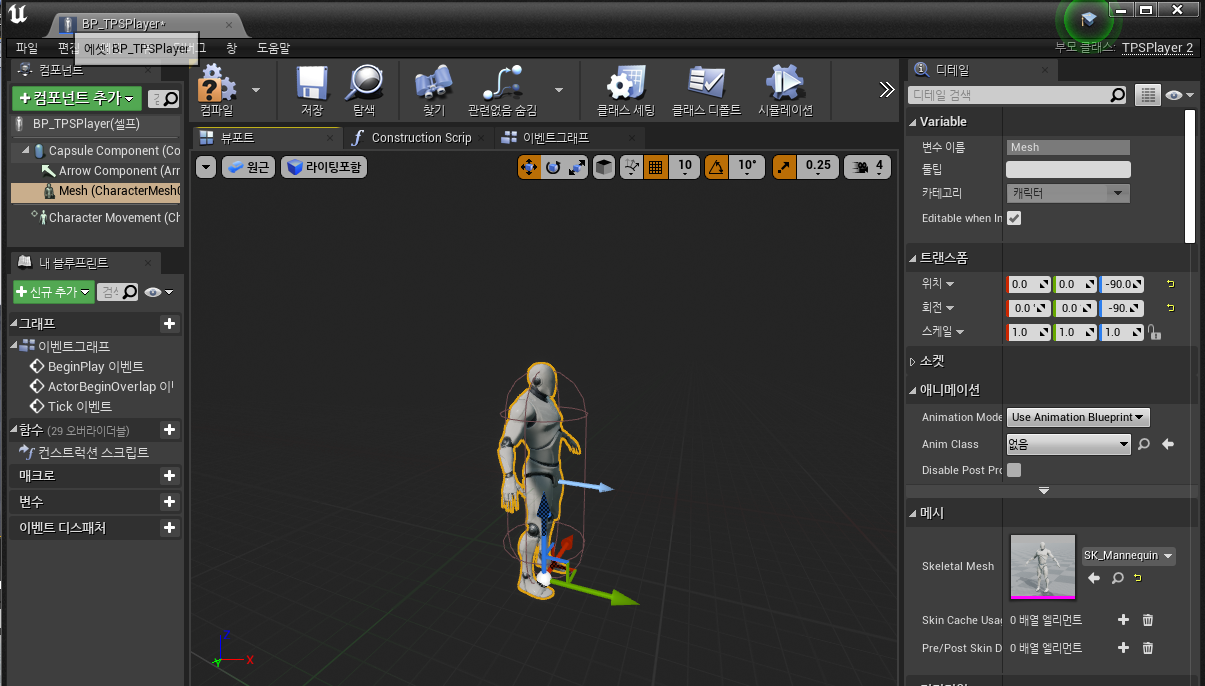
BP_TPSPlayer에서 메시 추가
- 이 메시는 3인칭 팩에 있는 기본 메시
그리고서 트랜스폼의 위치, 회전 값을 좀 수정해서
Arrow 컴포넌트의 화살표 방향과 일치시켜주고 캡슐콜라이더 안에 메시가 딱 들어오게 만듦
근데 위에서처럼 블루프린트에서 한 다음에 C++ 코드의 생성자에서도 설정해주는 게 좋은데
블루프린트에 문제가 생겨서 다시 만들어야 하면 저러한 값들을 일일히 다시 설정해줘야하기 때문
코드에서 해놓으면 블루프린트에 문제가 생겨도 상관이 없단 말~
	// 혹시 블루프린트 오류가 생기더라도 삭제하고 다시 만들었을 때 자동으로 설정되도록 생성자에서 초기화
	// 1. 스켈레탈메시 데이터 불러오기
	ConstructorHelpers::FObjectFinder<USkeletalMesh>
	TempMesh(TEXT("SkeletalMesh'/Game/Mannequin/Character/Mesh/SK_Mannequin.SK_Mannequin'"));
	if (TempMesh.Succeeded())
	{
		GetMesh()->SetSkeletalMesh(TempMesh.Object);
		// 2. Mesh 컴포넌트의 위치와 회전값 설정
		GetMesh()->SetRelativeLocationAndRotation(FVector(0, 0, -90), FRotator(0, -90, 0));
	}
기억하기
- 표준 C++와는 다르게 언리얼 엔진에서 생성자는 인스턴스를 초기화해 CDO(Class Default Object) 를 만들기 위한 목적이 있다.
- C++ 클래스를 컴파일하면 언리얼 오브젝트의 정보를 담은 UObject가 만들어지고, 에디터를 실행하면 생성자 코드를 통해 CDO 인스턴스를 생성한다.
- 엔진에서는 인스턴스 생성 시 매번 초기화시키지 않고, 이 CDO를 복제하여 생성한다.
3인칭 카메라 관련
USpringArmComponent
- 이 컴포넌트로 등록된 자식 컴포넌트를 자신과의 지정된 거리 안에 유지되도록 처리하는 컴포넌트
- 고정적으로 특정 위치에 박혀 있지는 않고 설정에 따라 타깃과의 사이에 장애물이 있을 경우 장애물 앞으로 이동시켜주기도 함
아래 코드처럼 생성자에서 컴포넌트를 붙여줄 수 있음
	// 3. TPS 카메라 붙이기
	// 3-1. SpringArm 컴포넌트 붙이기
	springArmComp = CreateDefaultSubobject<USpringArmComponent>(TEXT("SpringArm"));
	springArmComp->SetupAttachment(RootComponent); // 여기에선 하이어라키 구조 상 캡슐 콜리전 컴포넌트
	springArmComp->SetRelativeLocation(FVector(0, 70, 90));
	springArmComp->TargetArmLength = 400;

	// 3-2. Camera 컴포넌트 붙이기
	tpsCamComp = CreateDefaultSubobject<UCameraComponent>(TEXT("TpsCamComp"));
	tpsCamComp->SetupAttachment(springArmComp);
입력 맵핑
- LookUp이랑 Turn 해주라고 했는데 이미 되어있음
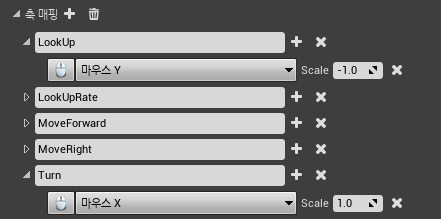
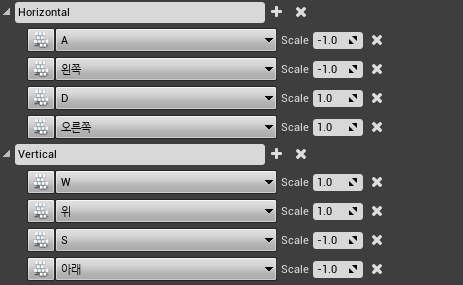
- Horizontal이랑 Vertical만 추가로 등록해주었음
입력과 회전
-
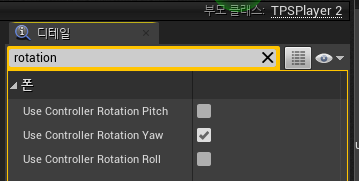
클래스 디폴트(TPSPlayer) Rotation으로 검색:
폰을 각 회전축으로 사용자의 입력에 따라 회전시킬지 여부를 나타냄
-
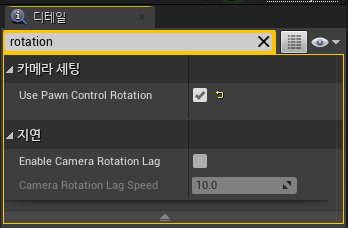
스프링암 컴포넌트에서 Rotation으로 검색: Use Pawn Control Rotation
폰에 회전 입력이 들어오면 스프링암 컴포넌트를 회전시킬지 여부를 나타냄
-
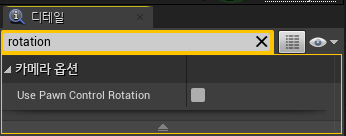
카메라 컴포넌트에서 Rotation 검색: Use Pawn Control Rotation
폰에 회전 입력이 들어오면 카메라를 회전시킬지 여부를 나타냄
그러나 스프링암의 자식으로 등록된 카메라는 스프링암의 움직임에 따라가도록 비활성화
(어차피 위에서 스프링암 컴포넌트가 폰의 회전 입력에 따라 회전하도록 했으므로)
이도 마찬가지로 C++ 생성자에 등록해주는 게 좋음
	// 스프링암
	springArmComp->bUsePawnControlRotation = true;
	// 카메라 컴포넌트
	tpsCamComp->bUsePawnControlRotation = false;
	// 클래스 디폴트 설정값
	bUseControllerRotationYaw = true;
입력 바인딩
C++에서 입력을 어떻게 처리하는지
카메라 회전
// Called to bind functionality to input
void ATPSPlayer2::SetupPlayerInputComponent(UInputComponent* PlayerInputComponent)
{
	Super::SetupPlayerInputComponent(PlayerInputComponent);
	PlayerInputComponent->BindAxis(TEXT("Turn"), this, &ATPSPlayer2::Turn);
	PlayerInputComponent->BindAxis(TEXT("LookUp"), this, &ATPSPlayer2::LookUp);
}

// 인자값으로 들어오는 value는 키 입력에서 넣어준 Scale 값이 키 입력에 따라 넘어오게 되어 있음
// AddControllerYawInput은 Yaw방향으로의 회전 처리
void ATPSPlayer2::Turn(float value)
{
	AddControllerYawInput(value);
}

void ATPSPlayer2::LookUp(float value)
{
	AddControllerPitchInput(value);
}
위에 모든 내용을 다 적지 않았지만,
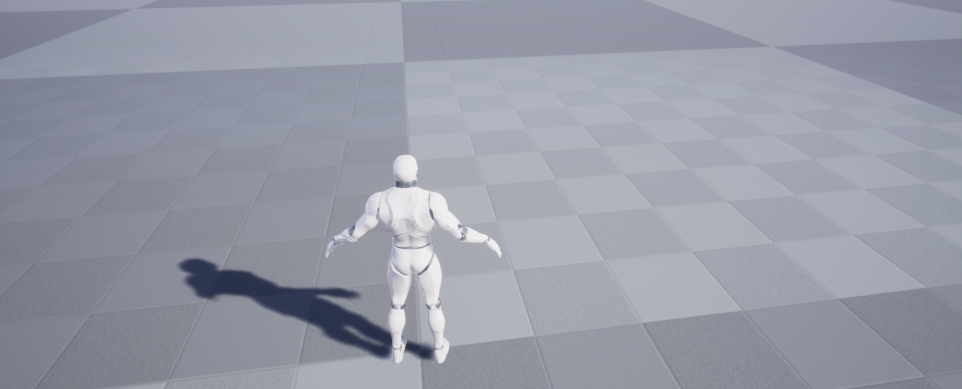
플레이어에 카메라 관련 컴포넌트 추가하고 입력에 따른 회전 처리를 해주었더니
플레이하면 마우스 입력에 따라 플레이어 중심으로 카메라가 회전하는 것을 확인할 수 있음
중요한 건
카메라는 상하좌우 모두 회전되지만 플레이어는 Yaw방향으로만 회전하는데
bUseControllerRotationYaw 에 true를 해주고 Pitch, Roll 회전축에는 아무것도 안해주었기 때문
플레이어 이동
// Called to bind functionality to input
void ATPSPlayer2::SetupPlayerInputComponent(UInputComponent* PlayerInputComponent)
{
	PlayerInputComponent->BindAxis(TEXT("Horizontal"), this, &ATPSPlayer2::InputHorizontal);
	PlayerInputComponent->BindAxis(TEXT("Vertical"), this, &ATPSPlayer2::InputVertical);
}

// 좌우 입력 이벤트 처리 함수
void ATPSPlayer2::InputHorizontal(float value)
{
	direction.Y = value;
}

// 상하 입력 이벤트 처리 함수
void ATPSPlayer2::InputVertical(float value)
{
	direction.X = value;
}
등속운동 공식
P(결과 위치) = P0(현재 위치) + v(속도) x t(시간)
- 속도를 나타내는 v는 크기와 방향으로 이루어진 벡터
- P0: GetActorLocation 함수를 이용
- 속도 v: 사용자 입력으로부터 구한 방향 변수 x 속도 크기 walkSpeed
- 시간 t: DeltaTime
이동은 Tick 함수에서!
// Called every frame
void ATPSPlayer2::Tick(float DeltaTime)
{
	Super::Tick(DeltaTime);

	// 플레이어 이동 처리
	// 등속 운동
	// P(결과 위치) = P0(현재 위치) + v(속도) x t(시간)
	FVector P0 = GetActorLocation();
	FVector vt = direction * walkSpeed * DeltaTime;
	FVector P = P0 + vt;
	SetActorLocation(P);
	direction = FVector::ZeroVector;
}
위 코드는 캐릭터가 바라보는 방향을 고려하지 않고,
무조건 월드 상에서의 앞으로 이동하는 코드이므로 P0 구하는 코드 전에
direction = FTransform(GetControlRotation()).TransformVector(direction); 을 적어서
플레이어 폰이 바라보는 방향을 고려해주도록 함
그리고 이러한 움직임은 Character Movement 컴포넌트를 이용하면 훨씬 더 수월함
FVector P0 = GetActorLocation();
FVector vt = direction * walkSpeed * DeltaTime;
FVector P = P0 + vt;
SetActorLocation(P);
위 등속운동 코드를 AddMovementInput(direction); 로 대체할 수 있음
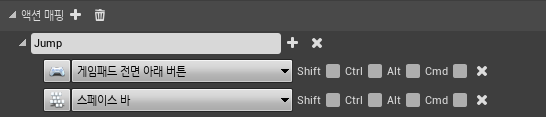
점프 구현
- 입력 -> 액션 매핑 -> Jump/스페이스 바
void ATPSPlayer2::SetupPlayerInputComponent(UInputComponent* PlayerInputComponent)
{
	PlayerInputComponent->BindAction(TEXT("Jump"), IE_Pressed, this, &ATPSPlayer2::InputJump);
}

void ATPSPlayer2::InputJump()
{
	Jump();
}
저 Jump()라는 함수는 엔진 자체 클래스인 Character.cpp에 구현되어 있음
void ACharacter::Jump()
{
	bPressedJump = true;
	JumpKeyHoldTime = 0.0f;
}