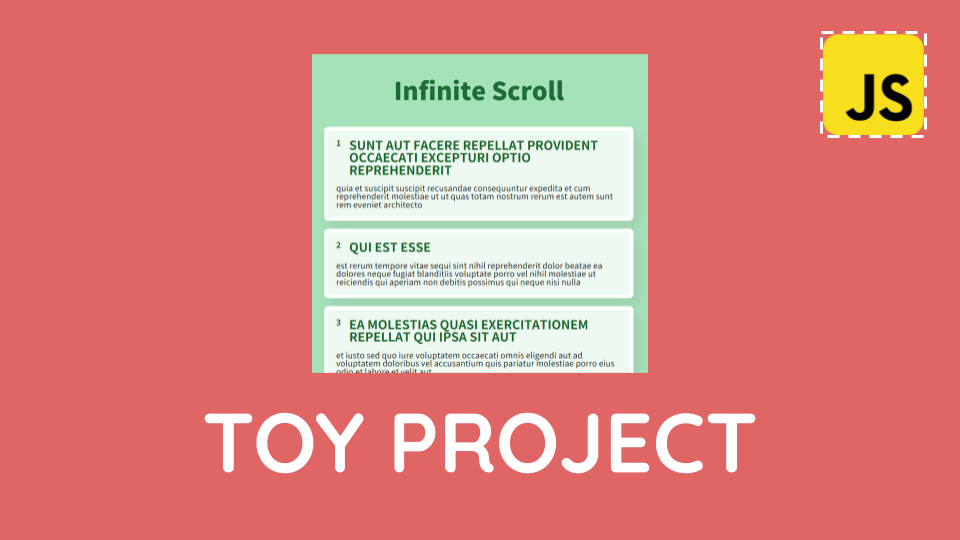
https://jsonplaceholder.typicode.com/ 외부 API를 연동하고, InfiniteScroll을 구현하는 토이프로젝트를 실습해보았다
목표

-
https://jsonplaceholder.typicode.com/ 에서 resource 가져오기
-
페이지가 끝까지 스크롤 됐을 때 데이터들을 추가로 불러오는 기능 구현하기
-
해당 resource의 데이터 하나하나의 html을 동적으로 생성해 화면에 보여주기
-
페이지가 로딩될 때 로딩 모션 보여주기
1. 외부 API 리소스 가져오기
https://jsonplaceholder.typicode.com 에 접속해 Resource 파트에서 100개의 posts 데이터를 저장하고 있는 주소를 가져온다. (https://jsonplaceholder.typicode.com/posts)
2. 기본 선언
'use strict'

  const get = (target) => {
    return document.querySelector(target)
  }

  let page = 1
  const limit = 10
  const $posts = get('.posts')
  const end = 100
  let total = 10

  const $loader = get('.loader')
use strict로 엄격모드 코드를 넣고,
querySelector를 이용해 돔을 불러올 get( )함수와,
page, limit, end, total 등의 변수를 선언해주고
get( )을 이용해 $posts와 $loader돔을 불러온다.
- page : 현재 페이지
- limit : 한 페이지에 노출될 데이터의 수
- end : 마지막 데이터 (총 데이터의 수)
- total : 현재까지 로드한 데이터의 수
3. jsonplaceholder 연동하기
  const getPost = async () => {
    const API_URL = `https://jsonplaceholder.typicode.com/posts?_page=${page}&_limit=${limit}`
    const response = await fetch(API_URL)
    if (!response.ok) {
      throw new Error('에러가 발생했습니다')
    }
    return await response.json()
  }
async/await을 이용해 fetch로 응답받은 데이터들을 json객체로 변환해 반환하는 getPost()함수를 구현해준다.
4. 데이터들 요소로 동적생성
  const showPosts = (posts) => {
    posts.forEach((post) => {
      const $post = document.createElement('div')
      $post.classList.add('post')
      $post.innerHTML = `
      <div class="header">
        <div class="id">${post.id}</div>
        <div class="title">${post.title}</div>
      </div>
      <div class="body">
        ${post.body}
      </div>
      `
      $posts.appendChild($post)
    })
  }
불러온 데이터 하나하나를 받아 div요소로 동적생성해줄 showPosts( )함수를 만들어준다.
5. 로딩 애니메이션을 위한 코드
  const showLoader = () => {
    $loader.classList.add('show')
  }

  const hideLoader = () => {
    $loader.classList.remove('show')
  }
css에서 transform과 transition을 이용해 show클래스가 있으면 애니메이션이 작동되도록 만들어 주고, showLoader( )와 hideLoader( )를 이용해 클래스를 변경해준다.
6. 로딩 애니메이션을 위한 코드
  const loadPost = async () => {
  // 로딩 모션을 보여줌
    showLoader()
  // getPost()로 데이터를 가져와 showPosts()로 요소를 동적 생성해 보여준다
    try {
      const response = await getPost()
      showPosts(response)
    } catch (error) {
      console.error(error)
    } finally {
      // 로딩 모션을 사라지게 함
      hideLoader()
    }
  }
async/await를 이용해 <데이터 로딩 모션 + 데이터 로드 or 에러코드 + 로딩 모션 제거>를 기능으로 하는 loadPost( )함수를 구현해준다.
7. 스크롤 상태와 기능 연결
// 끝까지 스크롤 됐을 때 데이터를 불러오게 하기 위한 함수
  const onScroll = () => {
    const { scrollTop, scrollHeight, clientHeight } = document.documentElement

    if (total === end) {  // 데이터를 전부 로드한 경우 스크롤이 되지 않도록 할 것
      window.removeEventListener('scroll', onScroll)
      return
    }
    if (scrollTop + clientHeight >= scrollHeight - 5) {
    // 지금까지 스크롤된 높이와 화면에 보이는 영역의 높이를 더한 값이,
    // 현재 페이지의 전체 스크롤길이에서 5픽셀 뺀 값보다 크거나 같으면 데이터 불러오게 할 예정
      page++
      total += 10
      loadPost()
    }
  }

// 이벤트 등록
  window.addEventListener('DOMContentLoaded', () => {
    loadPost()
    window.addEventListener('scroll', onScroll)
  })
스크롤 길이를 담은 document내장 요소인 scrollTop, scrollHeight, clientHeight를 불러온 후, 스크롤 길이를 계산해 조건문을 작성해주고, 스크롤이 끝부분에 닿으면 page을 증가해주고 total에 10을 더해 업데이트 해준 후, loadPost( )를 이용해 데이터를 로드한다.
12. 위 코드들을 즉시실행 함수로 감싸주기
코드들을 즉시실행 함수로 감싸 변수충돌을 방지해준다.