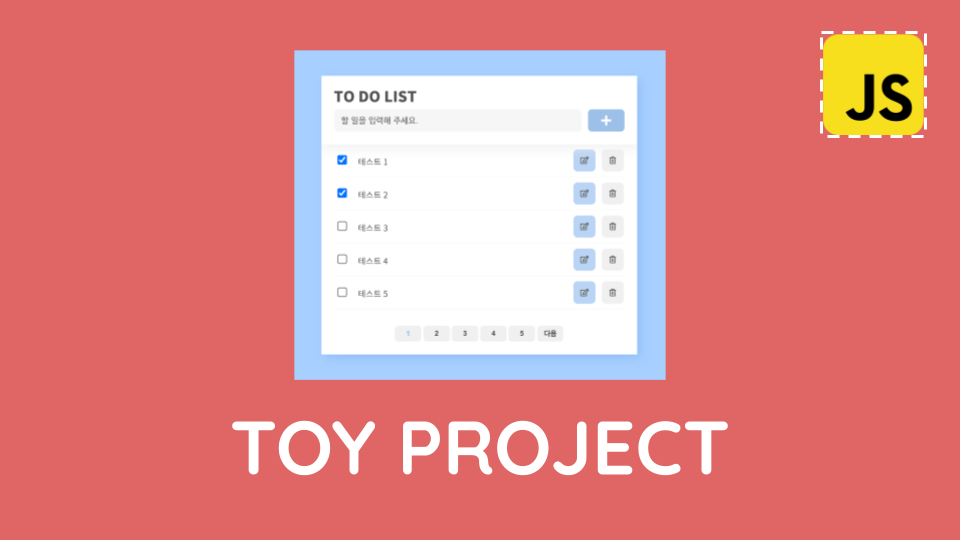
저번 글에서 진행한 토이프로젝트 TO DO LIST에 페이지네이션 기능을 추가해보자
목표
하단부에 페이지 구역을 만들고 페이지마다 데이터를 나눠서 보이도록 하기
1. 기본 선언
우선 필요한 돔을 가져오고, 변수들을 선언해준다
const $pagination = get('.pagination') let currentPage = 1
const totalCount = 53
const pageCount = 5
const limit = 5json-server에서 지원하는 pagenation가이드를 참고해 구현해 볼 예정이다.
변수 각각은 페이지네이션을 구현하기 위한 설정값이다.
- currentPage: 현재 페이지
- totalCount: 총 데이터의 갯수
- pageCount: 화면에 나타날 페이지 갯수
- limit: 한 페이지 당 나타낼 데이터의 갯수
2. 이벤트 등록
window.addEventListener('DOMContentLoaded', () => {
      getTodos()
      pagination() // pagination함수를 만들어 렌더링 시 호출할 예정이다.
    })
3. 기능 구현하기
  const pagination = () => {
  // 총 페이지 개수 계산하기
  // 현재 페이지가 몇 번째 그룹에 속해있는지 계산하기
    let totalPage = Math.ceil(totalCount / limit)
    let pageGroup = Math.ceil(currentPage / pageCount)

  // 각 페이지 그룹의 마지막 숫자와 첫 숫자 계산하기
    let lastNumber = pageGroup * pageCount
    if (lastNumber > totalPage) {
      lastNumber = totalPage // 끝 페이지 처리
    }
    let firstNumber = lastNumber - (pageCount - 1)

    const next = lastNumber + 1 // 다음버튼
    const prev = firstNumber - 1 // 이전버튼

  // html요소를 동적으로 생성하기 위해 변수를 만들고
    let html = ''
  // 이전 버튼 생성
    if (prev > 0) {     // 첫 페이지는 이전버튼이 생성되지 않도록
      html += `<button class="prev" data-fn="prev">이전</button>`
    }
  // 페이지 그룹의 첫번째 숫자부터 마지막 숫자까지 반복해서 페이지 버튼 생성
    for (let i = firstNumber; i <= lastNumber; i++) {
      html += `<button class="pageNumber" id="page_${i}">${i}</button>`
    }
  // 다음 버튼 생성
    if (lastNumber < totalPage) {  // 마지막 페이지는 다음버튼이 생성되지 않도록
      html += `<button class="next" data-fn="next">다음</button>`
    }
    $pagination.innerHTML = html
  // 페이지네이션 돔에 삽입해준다.

  // 현재 페이지일 경우 버튼의 색상을 살짝 다르게 하여 보여주기 위해
    const $currentPageNumber = get(`.pageNumber#page_${currentPage}`)
    $currentPageNumber.style.color = '#9dc0c9'

  // 현재 페이지 그룹의 페이지버튼들에 이벤트를 등록해준다
    const $currentPageNumbers = document.querySelectorAll('.pagination button')
    $currentPageNumbers.forEach((button) => {
      button.addEventListener('click', () => {
        if (button.dataset.fn === 'prev') {
          // 이전 버튼일 경우
          currentPage = prev
        } else if (button.dataset.fn === 'next') {
          // 다음 버튼일 경우
          currentPage = next
        } else {
          currentPage = button.innerText
        }
        pagination()
        getTodos()
      })
    })
  }
pageGroup을 만들어 페이지를 그룹으로 관리해야 이전과 다음 버튼을 눌렀을 때 페이지 버튼들의 그룹이동이 가능하다. 그 그룹의 페이지 숫자들만 밑에 보이게 할 수 있음
4. fetch 데이터 수신 코드에서 url 수정
  const getTodos = () => {
    // fetch(API_URL)
    fetch(`${API_URL}?_page=${currentPage}&_limit=${limit}`) // 이렇게
      .then((response) => response.json())
      .then((todos) => {
        renderAllTodos(todos)
      })
      .catch((error) => console.error(error.message))
  }
json-server에서 지원하는 pagination을 이용하기 위한 url작성방법
${API_URL}?_page=${currentPage}&_limit=${limit}
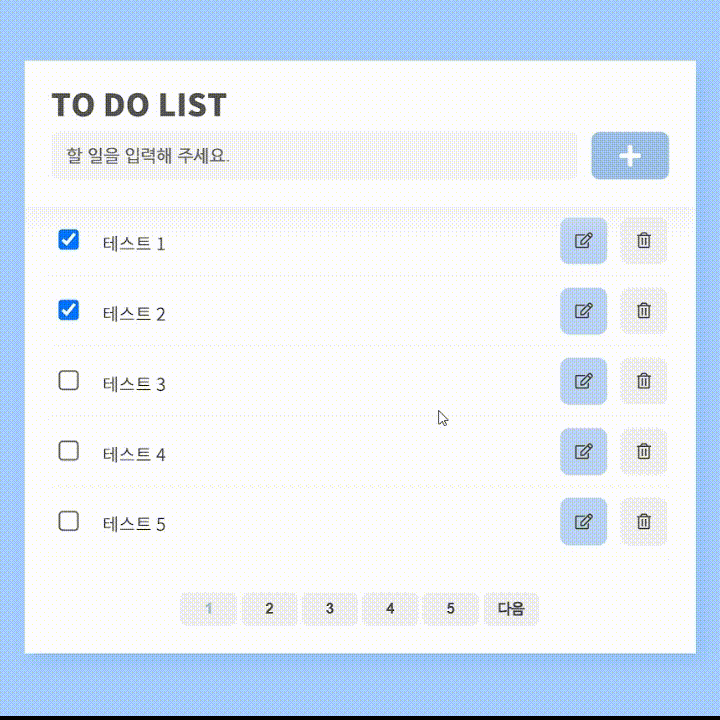
결과물

⛅🛩️ 먼 길을 돌아서 온 프론트엔드 개발자 ✈️⛅