
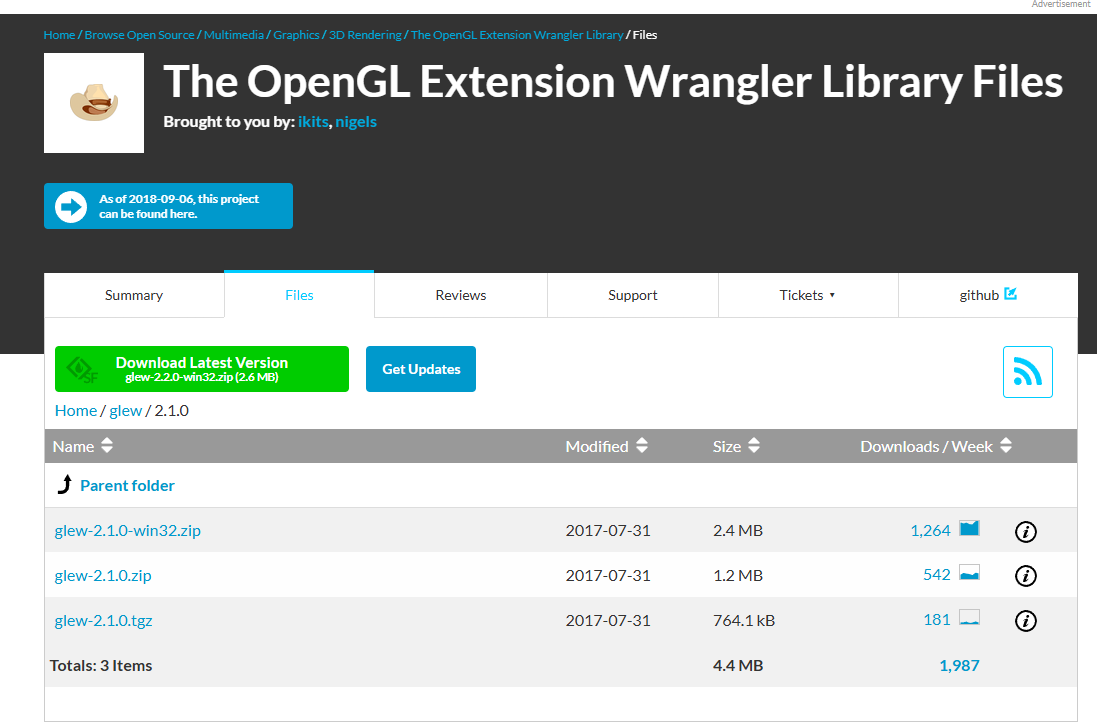
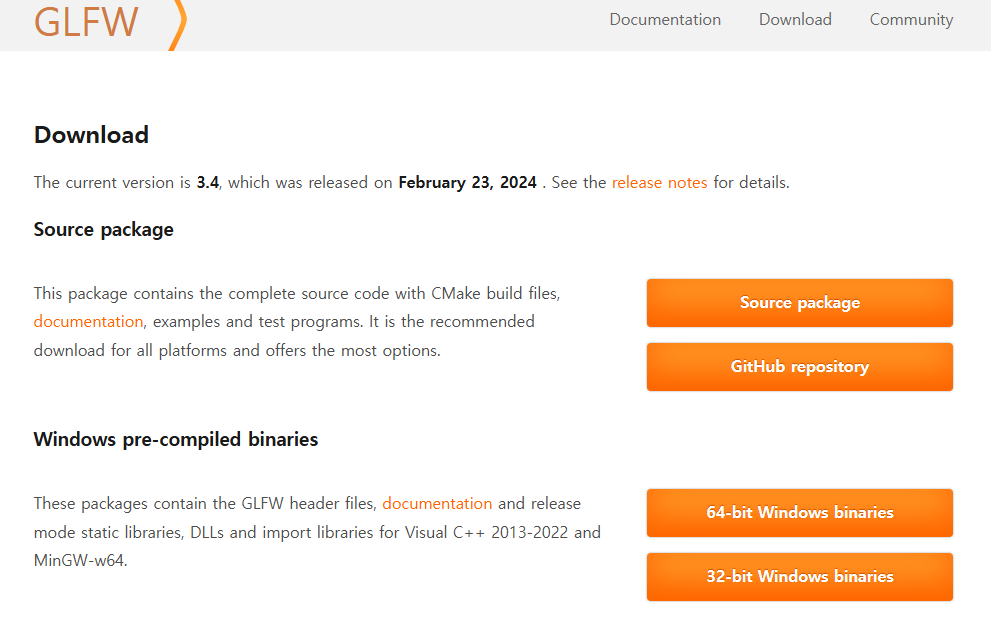
GLEW와 GLFW 다운로드
- GLEW : https://glew.sourceforge.net
Project Settings
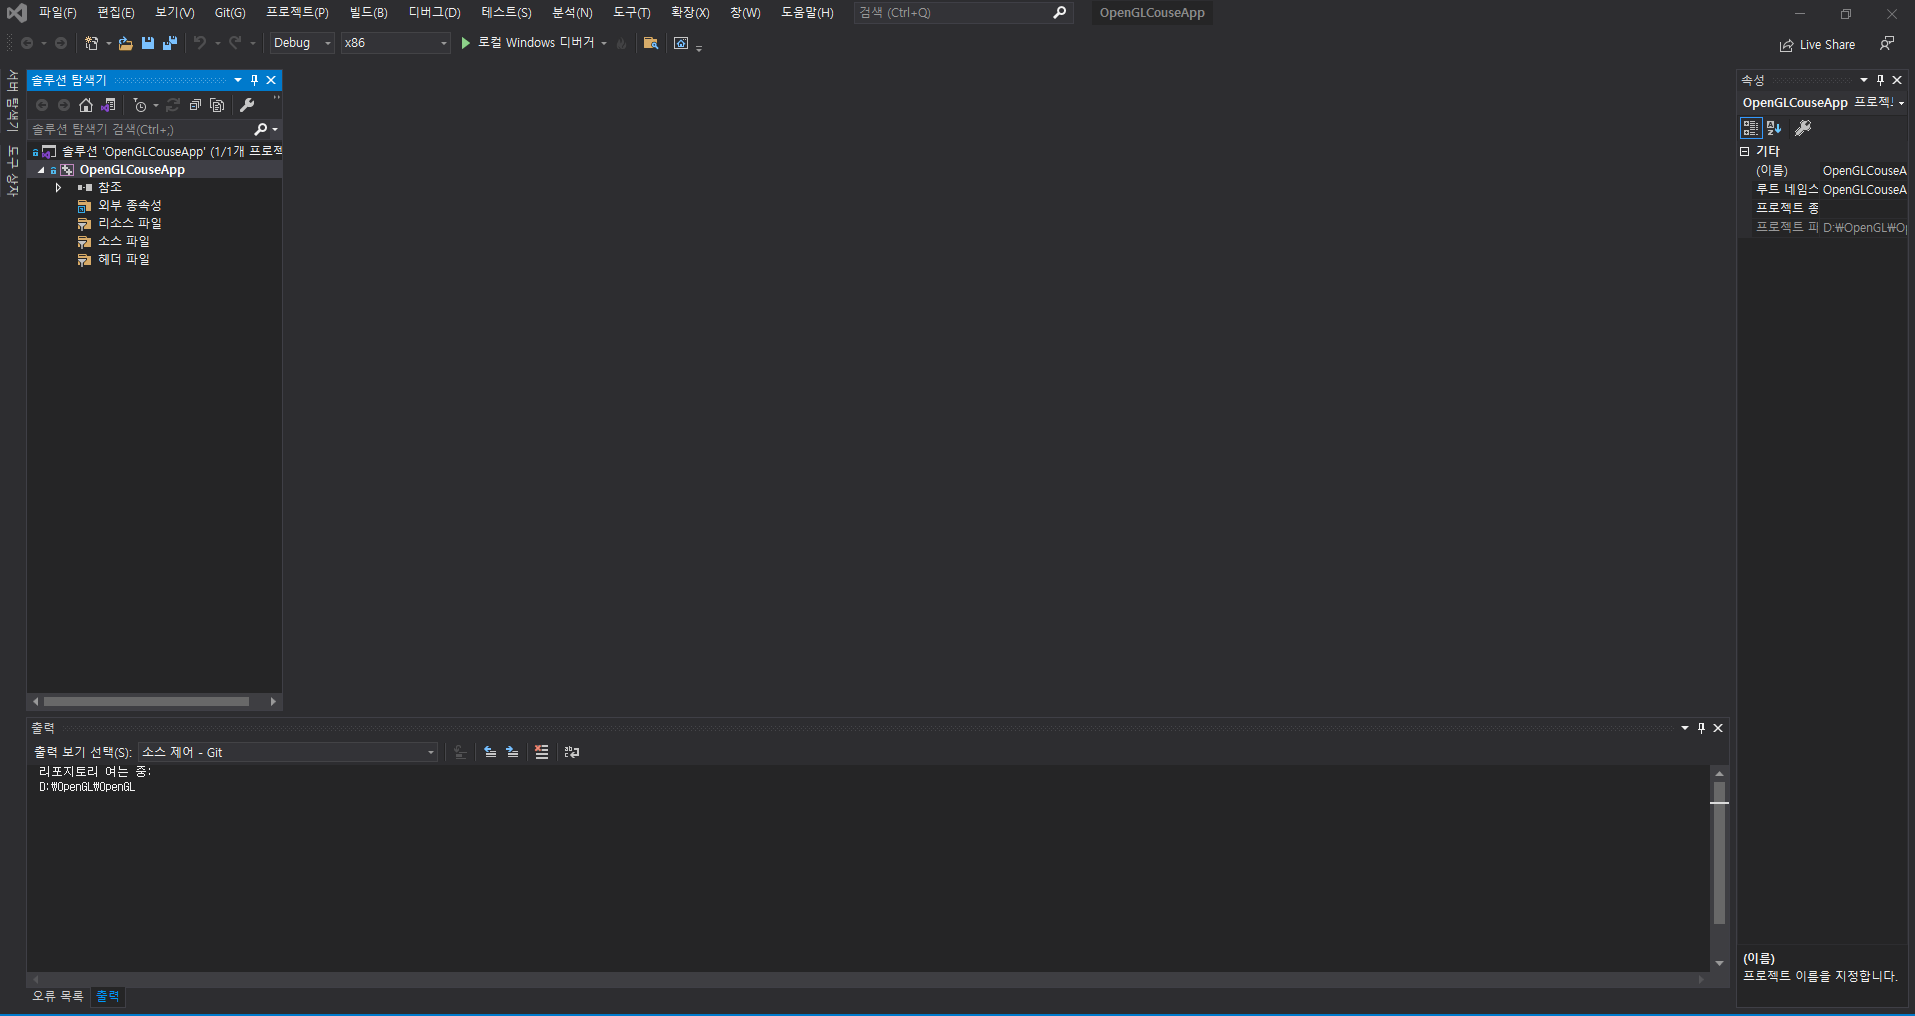
일단 Visual Studio로 새 프로젝트를 Empty로 만들어준다.
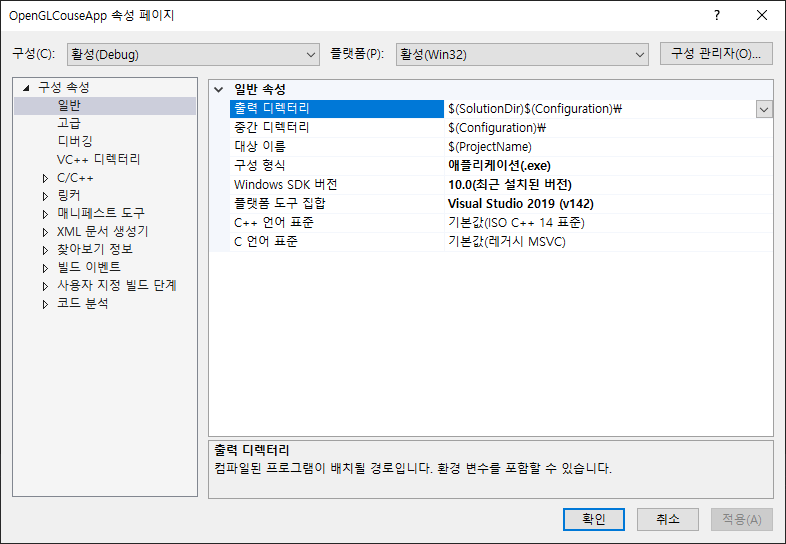
프로젝트를 우클릭해서 속성을 아래와 같이 변경한다.
C/C++ > 추가 포함(include) 디렉토리를 추가해준다.
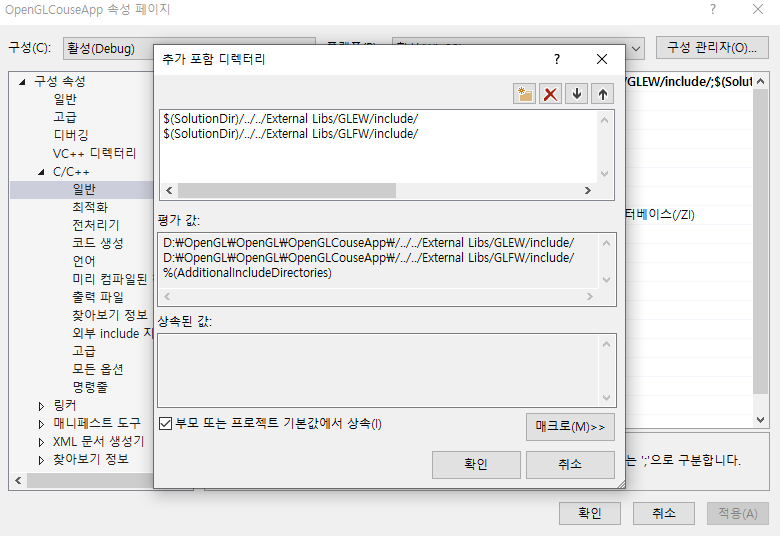
$(SoultionDir) : 현재 작성중이 솔루션 경로
../ : 상위폴더
아래와 같이 include가 되면 된다.
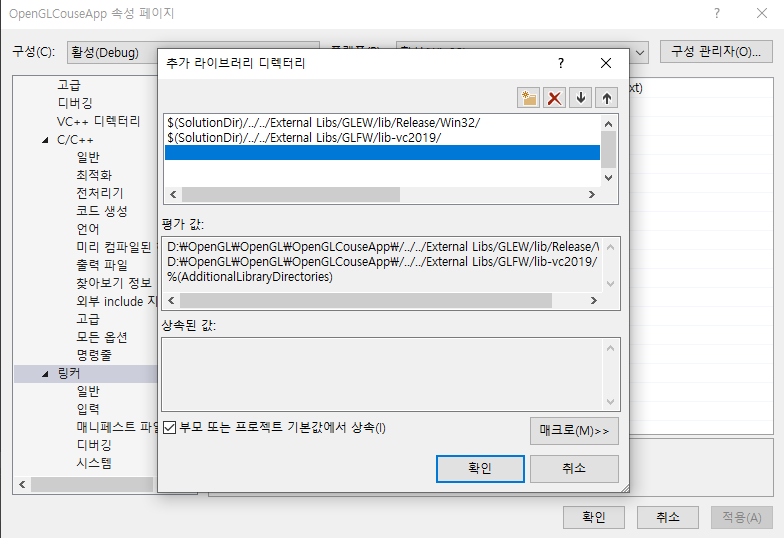
추가로 링커 > 추가 라이브러리 디렉터리를 추가해준다.
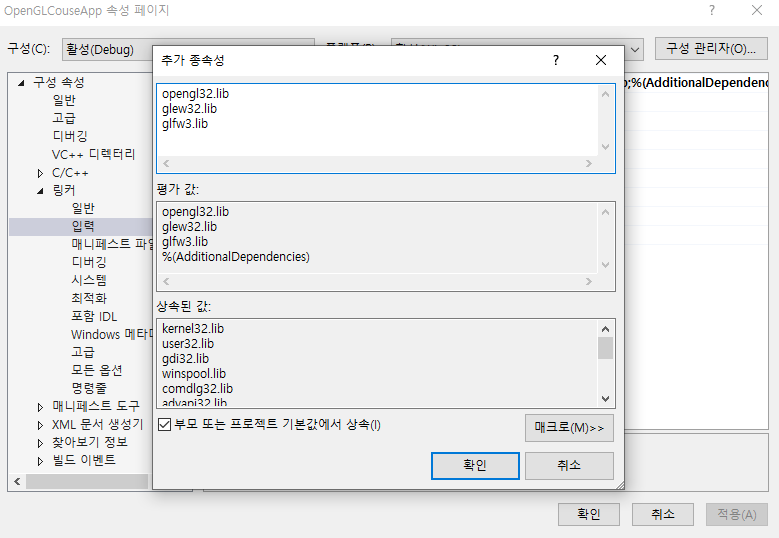
링커 > 입력 > 추가 종속성도 추가해준다.
마지막으로 glew32.dll을 솔루션 폴더의 OpenGLCourseApp 폴더로 옮겨주면 준비가 끝난다.
코드에 대한 설명은 주석을 참고하자.
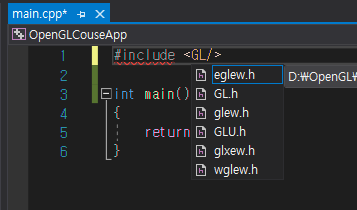
main.cpp
#include <stdio.h>
#include <iostream>
#include <GL/glew.h>
#include <GLFW/glfw3.h>
using namespace std;
// 창 크기
const GLint WIDTH = 800, HEIGHT = 600;
int main()
{
// glfw 초기화
if (!glfwInit())
{
cout << "GLFW Initialisation failed!" << endl;
glfwTerminate(); // glfw 종료
return 1;
}
//윈도우 속성 셋업
// OpenGL Version
glfwWindowHint(GLFW_CONTEXT_VERSION_MAJOR, 3); // Version 3.3
glfwWindowHint(GLFW_CONTEXT_VERSION_MINOR, 3);
// Core profile = No Backwards Compatibility (백워드 호환 불가능)
glfwWindowHint(GLFW_OPENGL_PROFILE, GLFW_OPENGL_CORE_PROFILE);
// Allow forward compatibility (포워드 호환 가능)
glfwWindowHint(GLFW_OPENGL_FORWARD_COMPAT, GL_TRUE);
// 윈도우 창 만들기
GLFWwindow* mainWindow = glfwCreateWindow(WIDTH, HEIGHT, "test window", NULL, NULL);
if (!mainWindow)
{
cout << "GLFW window creation failed" << endl;
glfwTerminate();
return 1;
}
// Get Buffer Size Information - 윈도우 창의 버퍼 크기를 가져옴
int bufferWidth, bufferHeight;
glfwGetFramebufferSize(mainWindow, &bufferWidth, &bufferHeight);
// Set Context for GLEW to use
// OpenGl 컨텍스트를 현재 스레드의 컨텍스트로 만드는 함수 = OpenGL 명령이 지정된 창의 컨텍스트에 적용되도록 함
glfwMakeContextCurrent(mainWindow);
// Allow modern extension features
glewExperimental = GL_TRUE; // GLEW의 확장 기능을 초기화할 수 있음
if (glewInit() != GLEW_OK)
{
cout << "GLEW initialisation failed" << endl;
glfwDestroyWindow(mainWindow);
glfwTerminate();
return 1;
}
// Setup Viewport Size - Viewport? 프레임 버퍼의 어떤 부분에 렌더링할지를 결정
glViewport(0, 0, bufferWidth, bufferHeight);
// Loop Until window Closed
while (!glfwWindowShouldClose(mainWindow)) // 윈도우 창이 닫힐 때까지 반복
{
// Get + Handler user input events
glfwPollEvents(); // 클릭, 화면 이동, 리사이즈 등, 등 모든 이벤트를 감지
// Clear Window
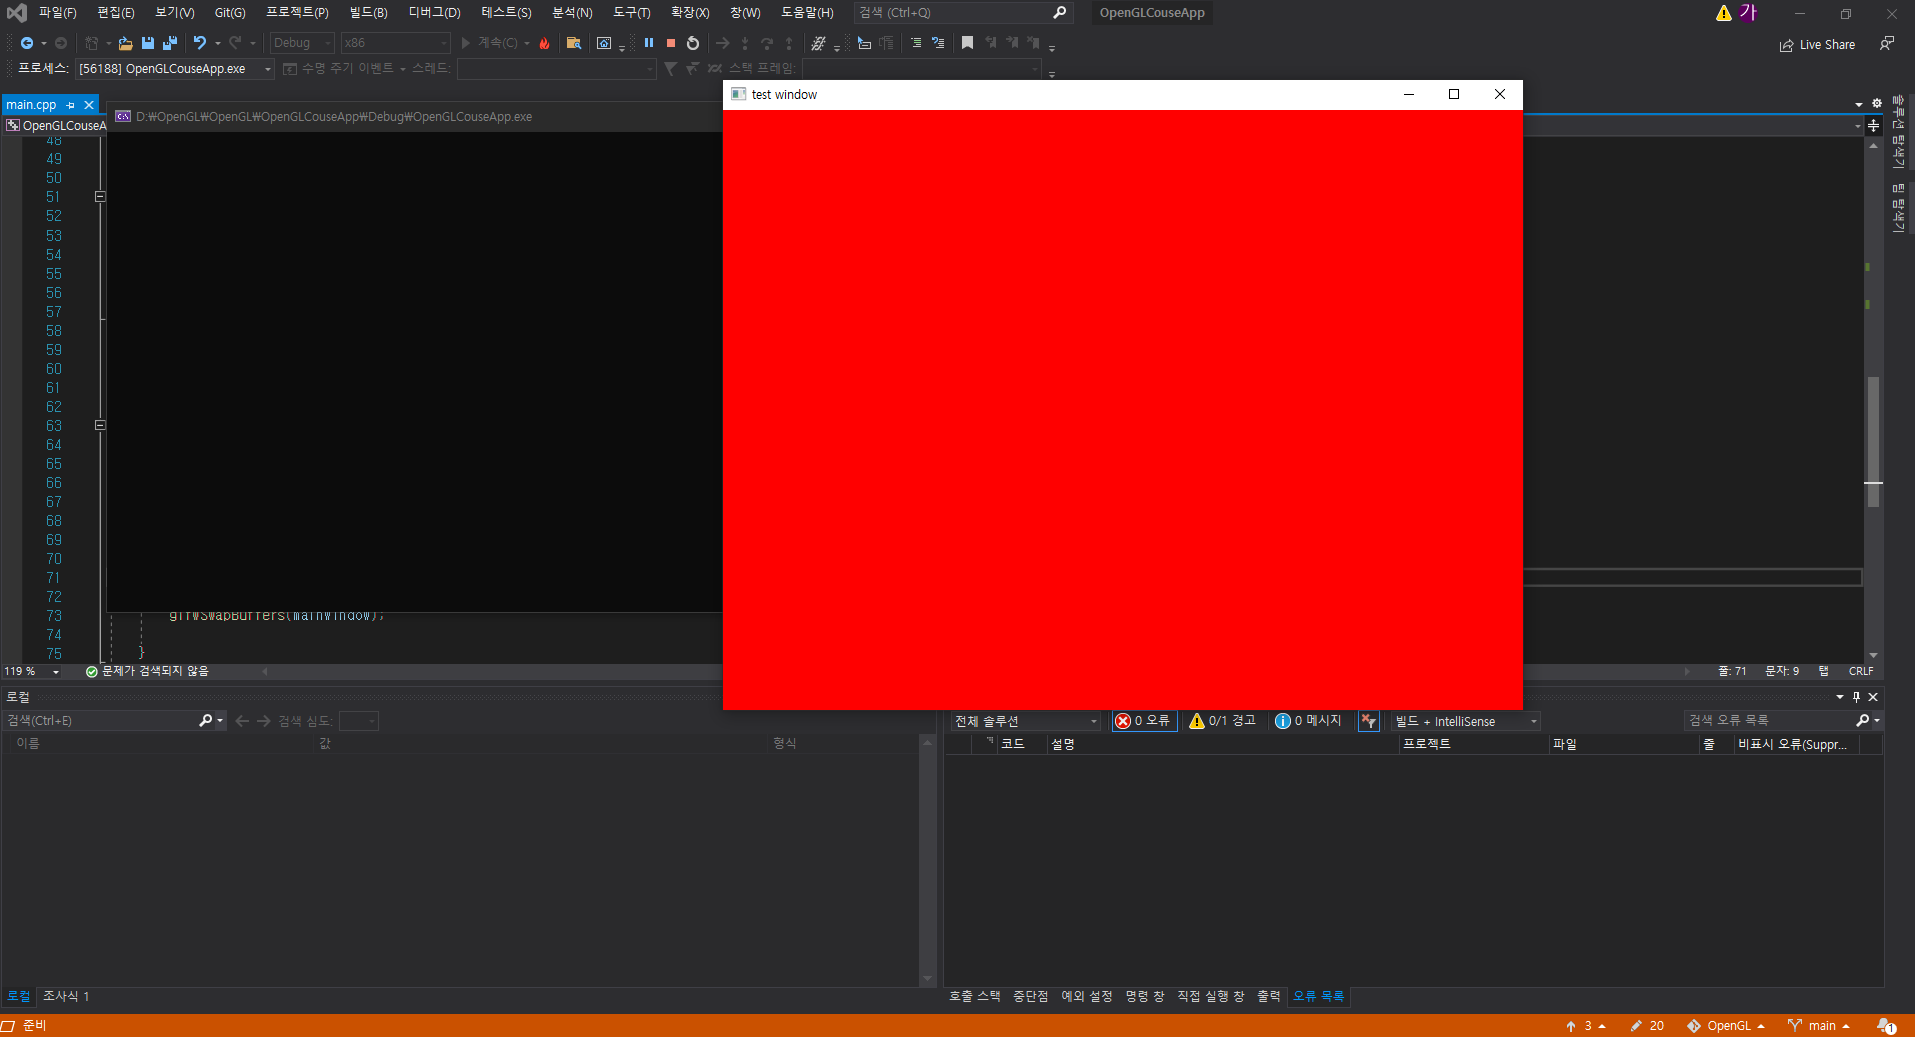
glClearColor(1.0f, 0.0f, 0.0f, 1.0f); // 특정 색(빨강)으로 지우기
glClear(GL_COLOR_BUFFER_BIT); // 색 버퍼를 특정 색(빨강)으로 지우기
// 화면에 보여지는 버퍼와 렌더링에 사용되는 버퍼를 교체
glfwSwapBuffers(mainWindow);
}
return 0;
}
정확한 Error에 대해서 알고 싶으면 아래와 같이 작성하면 Error Code와 Description에 대해서 알 수 있다.
glClearColor를 아래와 같이 바꾸면 초록으로 나온다.
glClearColor(0.0f, 1.0f, 0.0f, 1.0f); // 특정 색(빨강)으로 지우기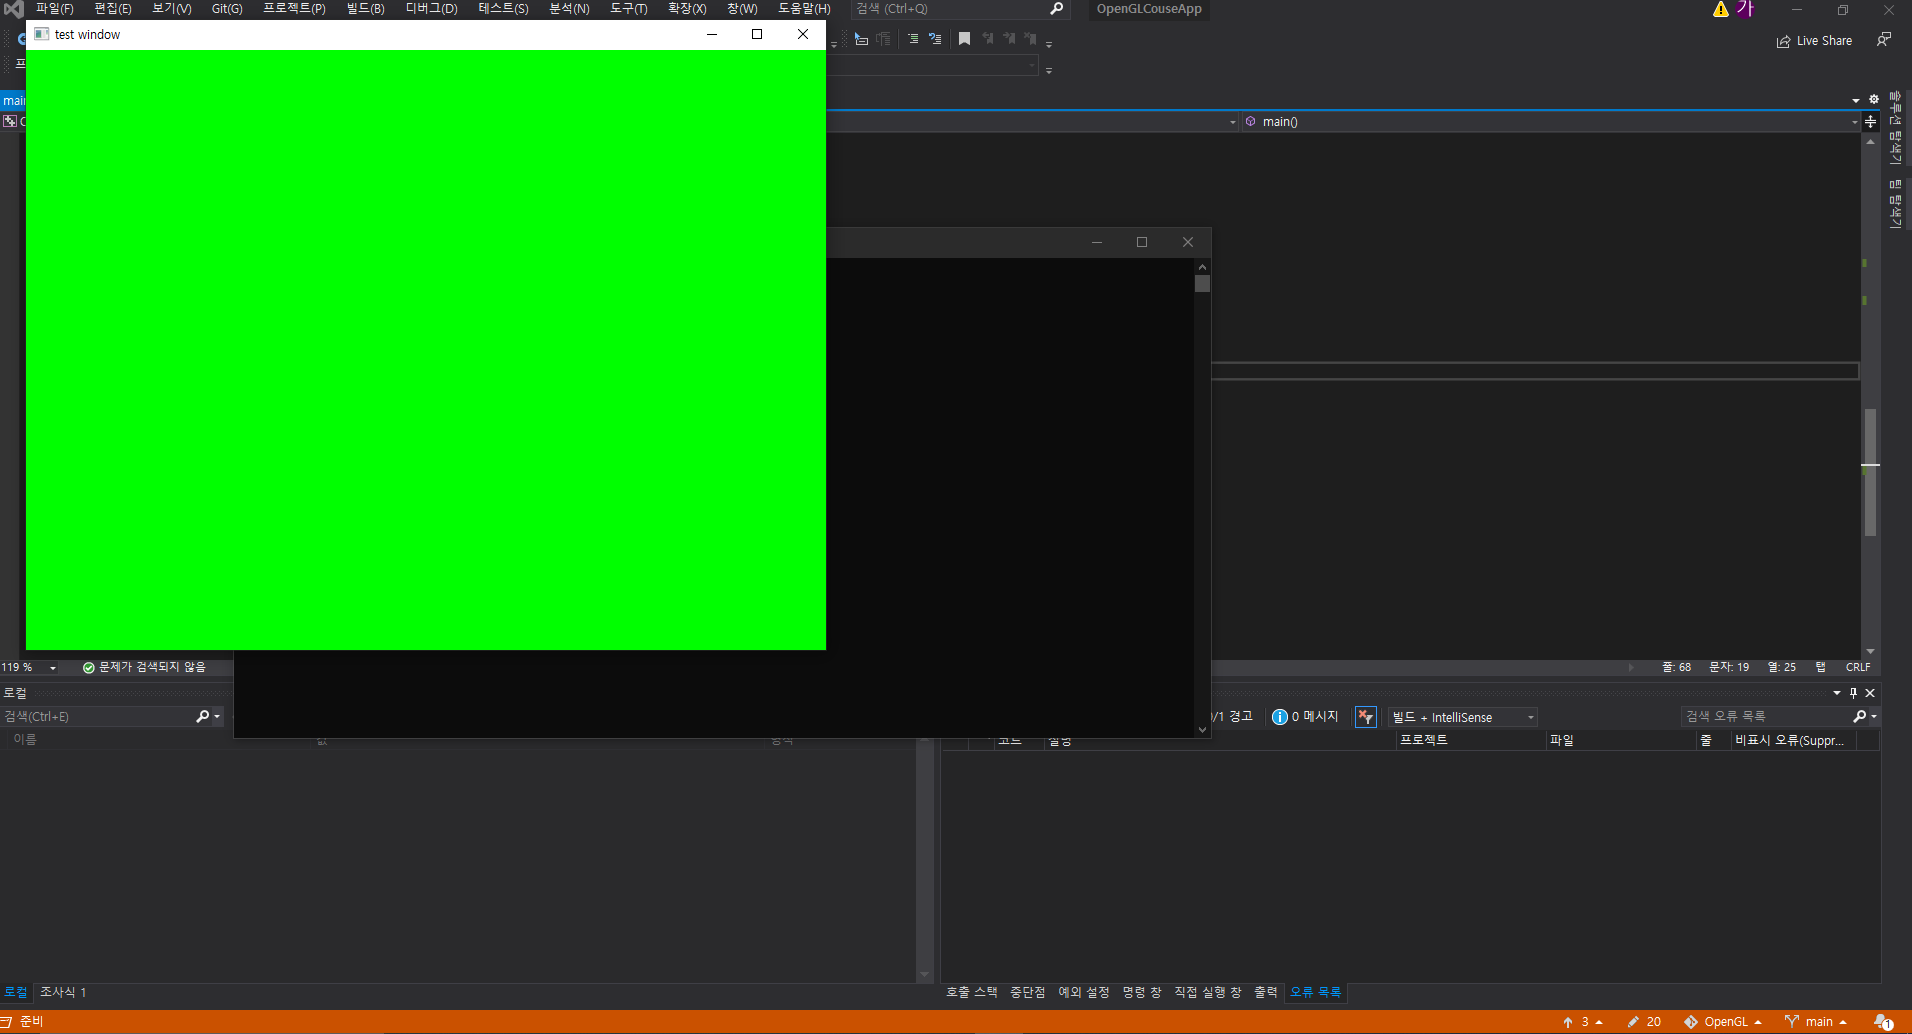
GLFWwindow* mainWindow = glfwCreateWindow(WIDTH, HEIGHT, "Test Window", NULL, NULL);
if (!mainWindow) {
    const char* description;
    int code = glfwGetError(&description);
    std::cerr << "GLFW window creation failed. Error code: " << code << ", description: " << description << std::endl;
    glfwTerminate();
    return -1;
}
Be Honest, Be Harder, Be Stronger