📋 목차
- Player Controller
- Player 생성
- PlayerController 스크립트 생성
- PlayerController 코드
- 언리얼 vs Unity
- 최종 결과
- 오늘의 배운 점
- 다음 계획
🎮 Player Controller
언리얼의 FPS에서는 이미 Player Controller가 존재합니다. 점프 및 공격이 기본적으로 내장되어 있죠.
하지만 Unity에서는...? 직접 생성해야 합니다.
언리얼 vs Unity - Character 시스템 비교
언리얼 엔진:
First Person Character템플릿 선택- 이동, 점프, 마우스 시점이 이미 구현됨
ACharacter클래스 상속받아 추가 기능만 구현- Blueprint로 쉽게 확장
Unity:
- 빈 씬에서 시작
- 모든 것을 직접 구현해야 함
GameObject+Component조합으로 구성- 더 자유롭지만 더 많은 작업 필요
🛠️ Player 생성
1. GameObject 생성
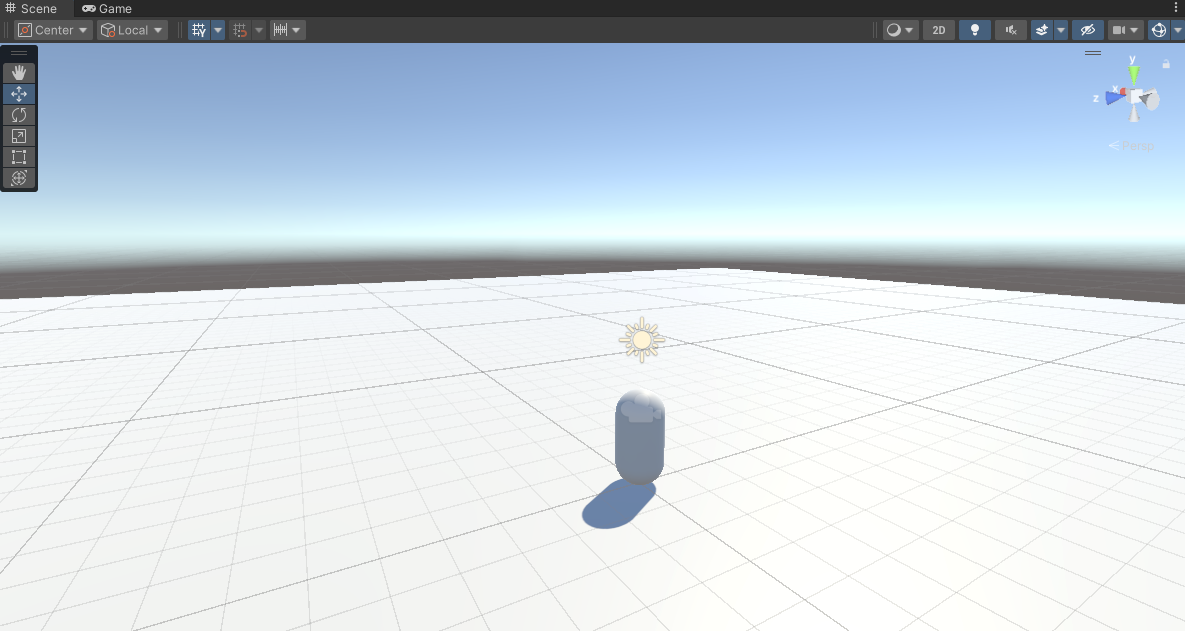
언리얼에서는 이미 만들어진 Character를 썼지만, Unity에서는 기본 도형부터 시작합니다.
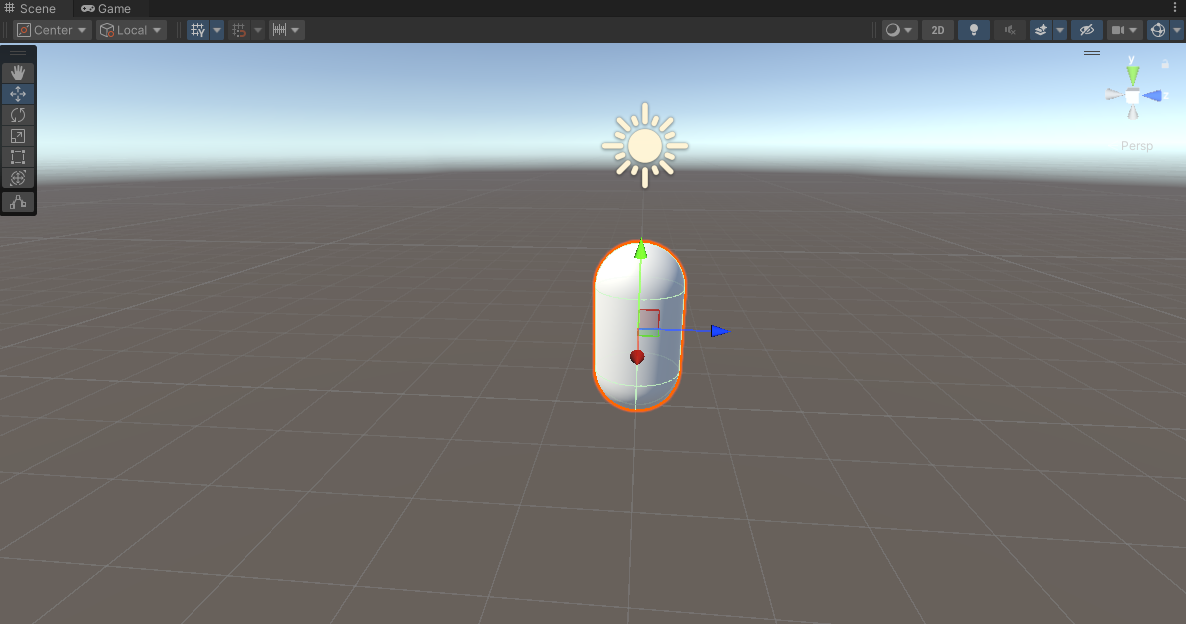
- Hierarchy 우클릭 →
3D Object→Capsule - 이름 변경: "Player"
- 위치 설정: (0, 1, 0)
2. 물리 시스템 추가
Unity에서는 물리를 위해 Player에 Rigidbody 컴포넌트를 수동으로 추가해야 합니다.
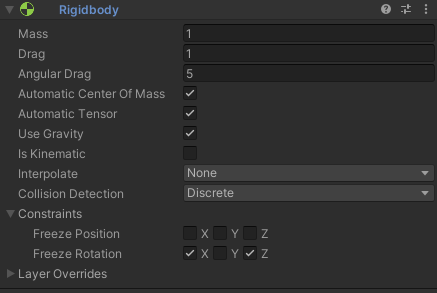
Add Component → Rigidbody
- Freeze Rotation X, Z 체크 ← 중요! 안 하면 넘어짐
3. 카메라 설정
언리얼과 달리 Unity는 카메라를 직접 플레이어에 붙여야 합니다.

Main Camera를 Player의 자식으로 드래그
- Position: (0, 0.6, 0)
4. 테스트용 바닥 생성
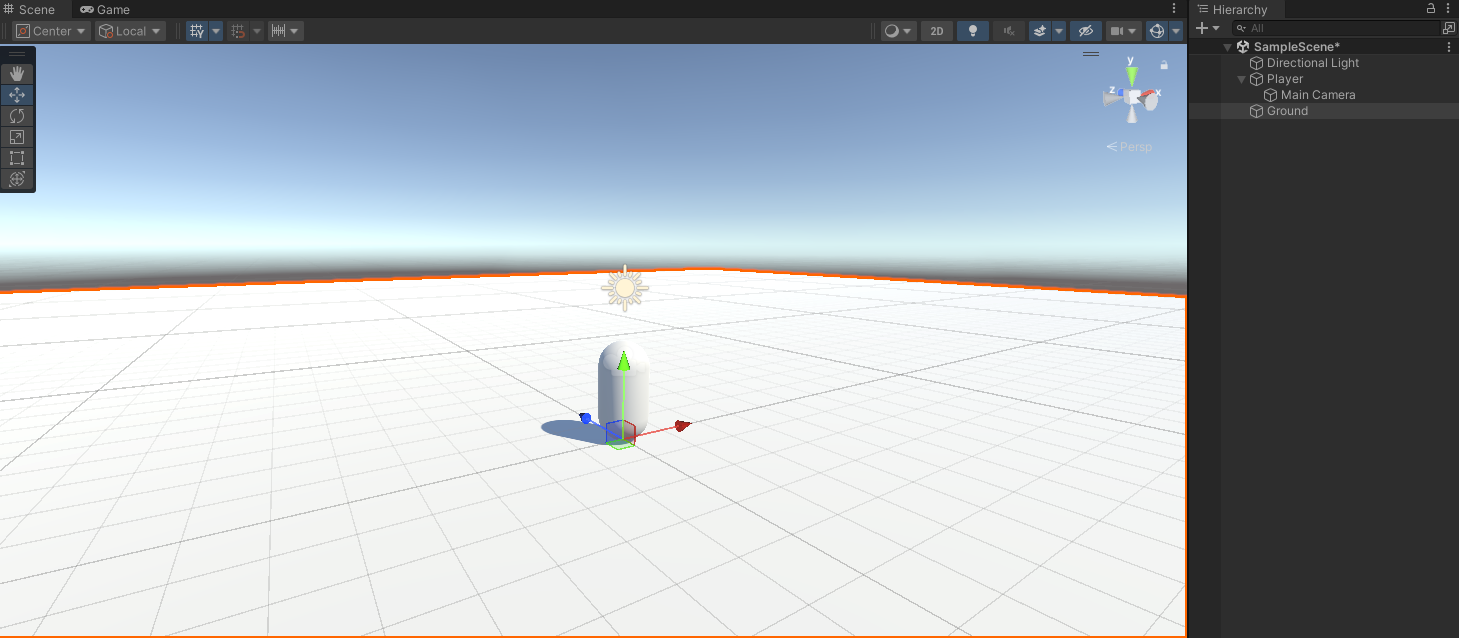
- Hierarchy 우클릭 →
3D Object→Plane - 이름 변경: "Ground"
- 위치 설정: (0, 0, 0)
- Scale: (10, 1, 10)
이제 Player가 바닥 위에 올라가 있는 모습을 확인할 수 있어요!
📄 PlayerController 스크립트 생성
- Assets 우클릭 →
Create→Folder - Scripts의 Project창 우클릭 →
Create→C# Script - 이름 변경: "PlayerController"
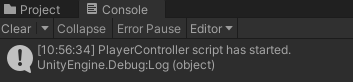
1. 테스트용 콘솔 출력
Start()는 스크립트 시작과 함께 실행됩니다.
public class PlayerController : MonoBehaviour
{
    void Start()
    {
        Debug.Log("PlayerController script has started.");
    }

    void Update()
    {

    }
}
2. Player에 스크립트 적용

Add Component → Player Controller
3. Play 후 Console 확인
📄 PlayerController 코드
전체코드는 다음과 같습니다.
using UnityEngine;
public class PlayerController : MonoBehaviour
{
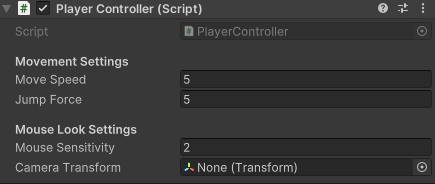
[Header("Movement Settings")]
[SerializeField] private float moveSpeed = 5f;
[SerializeField] private float jumpForce = 5f;
[Header("Mouse Look Settings")]
[SerializeField] private float mouseSensitivity = 2f;
[SerializeField] private Transform cameraTransform;
private Rigidbody rb;
private bool isGrounded;
private float xRotation = 0f;
void Start()
{
Debug.Log("플레이어 컨트롤러 시작!");
// 컴포넌트 가져오기
rb = GetComponent<Rigidbody>();
// 카메라 자동 찾기 (자식 오브젝트에서)
if (cameraTransform == null)
{
Camera playerCamera = GetComponentInChildren<Camera>();
if (playerCamera != null)
cameraTransform = playerCamera.transform;
}
// 마우스 커서 설정
Cursor.lockState = CursorLockMode.Locked;
Cursor.visible = false;
}
void Update()
{
HandleMouseLook();
HandleMovement();
HandleJump();
}
void HandleMouseLook()
{
if (cameraTransform == null) return;
// 마우스 입력 받기
float mouseX = Input.GetAxis("Mouse X") * mouseSensitivity;
float mouseY = Input.GetAxis("Mouse Y") * mouseSensitivity;
// Y축 회전 (좌우 - 플레이어 몸체)
transform.Rotate(Vector3.up * mouseX);
// X축 회전 (위아래 - 카메라만)
xRotation -= mouseY;
xRotation = Mathf.Clamp(xRotation, -90f, 90f);
cameraTransform.localRotation = Quaternion.Euler(xRotation, 0f, 0f);
}
void HandleMovement()
{
// 입력 받기 (WASD)
float horizontal = Input.GetAxis("Horizontal"); // A, D
float vertical = Input.GetAxis("Vertical"); // W, S
// 이동 방향 계산 (플레이어 기준)
Vector3 direction = transform.right * horizontal + transform.forward * vertical;
direction = direction.normalized;
// 물리적 이동 (Y축 속도는 유지)
Vector3 moveVelocity = direction * moveSpeed;
rb.velocity = new Vector3(moveVelocity.x, rb.velocity.y, moveVelocity.z);
}
void HandleJump()
{
if (Input.GetKeyDown(KeyCode.Space) && isGrounded)
{
rb.AddForce(Vector3.up * jumpForce, ForceMode.Impulse);
Debug.Log("점프!");
}
}
// 바닥 감지
private void OnCollisionEnter(Collision collision)
{
if (collision.gameObject.name.Contains("Ground") ||
collision.gameObject.CompareTag("Ground"))
{
isGrounded = true;
}
}
private void OnCollisionExit(Collision collision)
{
if (collision.gameObject.name.Contains("Ground") ||
collision.gameObject.CompareTag("Ground"))
{
isGrounded = false;
}
}
}⚔️ 언리얼 vs Unity
1. [SerializeField]
언리얼의 UPROPERTY 와 같은 역할을 합니다.
- [Header("Header Name")]: 언리얼의
Category와 같은 기능으로Inspector에서 섹션을 나눌 수 있음 - Unity는
private인데도Inspector에 노출 가능
2. Input
- 언리얼:
Input Component를 바인딩
SetupPlayerInputComponent(PlayerInputComponent);
PlayerInputComponent->BindAxis("MoveForward", this, &AMyCharacter::MoveForward);- Unity: 바로
Input.GetAxis로 가져옴
// 자동으로 WASD 매핑됨
float horizontal = Input.GetAxis("Horizontal");
float vertical = Input.GetAxis("Vertical");
3. Component 가져오기 방식
- 언리얼: 생성자에서 컴포넌트 생성
RigidBodyComponent = CreateDefaultSubObject<URigidBodyComponent>(TEXT("RigidBody"));- Unity: 런타임에 이미 있는 컴포넌트 찾기
rb = GetComponent<Rigidbody>();
Camera PlayerCamera = GetComponentInChildren<Camera>();
4. Transform 조작
- 언리얼:
SetActorRotation(NewRotation); // Actor 전체를 회전
CameraComponent->SetRelativeRotation(CameraRotation); // Component만 회전- Unity:
transform.Rotate(Vector3.up * mouseX); // GameObject 전체 회전
cameraTransform.localRotation = Quaternion.Euler(xRotation, 0f, 0f); // 자식 Transform 만 회전
5. 물리 이동 방식
- 언리얼:
Character Movement Component사용
GetCharacterMovement()->AddInputVector(Direction * speed);- Unity:
Rigidbody에 직접velocity설정
rb.velocity = new Vector3(moveVelocity.x, rb.velocity.y, moveVelocity.z);6. 충돌 감지 방식
- 언리얼:
Collision Response설정 후
UFUNCTION()
void OnHit(UPrimitiveComponent* HitComp, AActor* OtherActor, ...)- Unity:
MonoBehaviour에 자동으로 있는 함수
private void OnCollisionEnter(Collision collision)
{
    // 자동으로 호출됨
}
7. 마우스 커서 제어
- 언리얼:
Player Controller에서
GetWorld()->GetFirstPlayerController()->bShowMouseCursor = false;
GetWorld()->GetFirstPlayerController()->SetInputMode(FInputModeGameOnly());- Unity: 바로
Cursor클래스 사용
Cursor.lockState = CursorLockMode.Locked;
Cursor.visible = false;
🎮 최종 결과
완성된 플레이어 컨트롤러의 모든 기능이 작동하는 모습입니다!
조작법:
- WASD: 이동
- 마우스: 시점 회전
- 스페이스바: 점프
구현된 기능:
✅ 1인칭 시점 이동
✅ 마우스 시점 회전 (위아래 제한)
✅ 물리 기반 점프
✅ 바닥 감지
📚 오늘의 배운 점
- GameObject 추가와 설정
- Rigidbody
- Input System 이해
- 언리얼 엔진과 Unity의 Player Controller 차이점
🎯 다음 계획
다음 글에서는:
- UI 첫 도전

Unreal Engine & Unity 게임 개발자